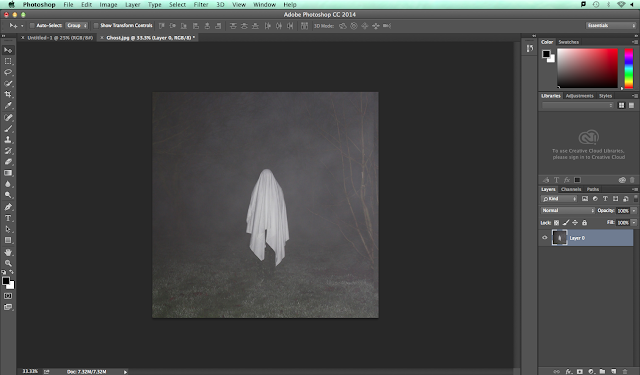
Original Image:
Final Image:
Technique -
I began by moving up to the 'File' drop down menu and selecting 'New...' (Cmd, N).
I changed the parameters of the document to fit what I estimated the final image size would be; the easiest option is to choose 'International Paper' if unsure and simply crop later.
This is the base layer that I created as seen above.
Next I wanted to open the file that I would be using the image from. To do this I went back to 'File' and selected 'Open' (Cmd, O).
Having found my file I unlocked it so that I could edit the image.
Hovering over the 'Quick Selection Tool' (W) and zooming in (Cmd +) I selected the first option.
Changing the tool size I selected the subject.
I then dragged the selection over to the file that I created. The scale is off and needed to be fixed.
To fix the scaling issue I moved up to 'Edit', 'Transform' and then 'Scale'.
Once I had adapted the scale I right clicked on the layer and selected 'Duplicate Layer...'.
I renamed the duplicated layer so that it would not get confusing when continuing with the editing process.
Once duplicating enough files I positioned them and reduced the opacity gradually on each layer by 10%. This is the final image.


No comments:
Post a Comment